As I said yesterday I have now taken the bed into Zbrush, and created the details of the mattress that I wanted, I then also used deformation master to quickly retopoligise the geometry into a low res version to be used in the environment.
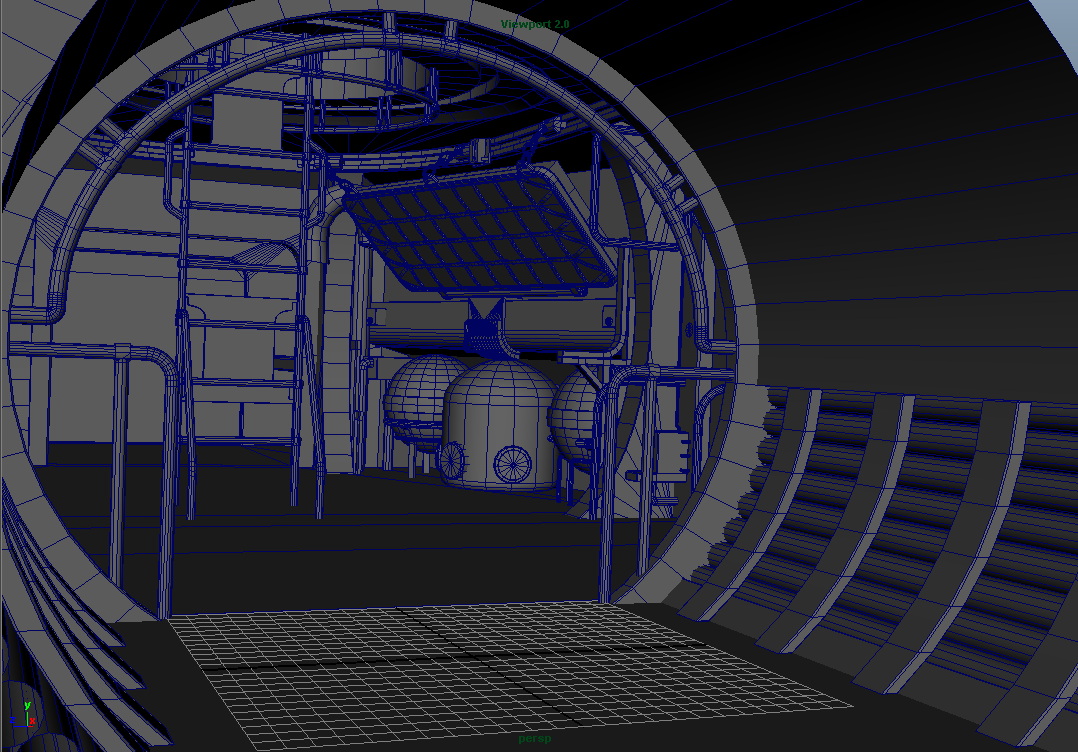
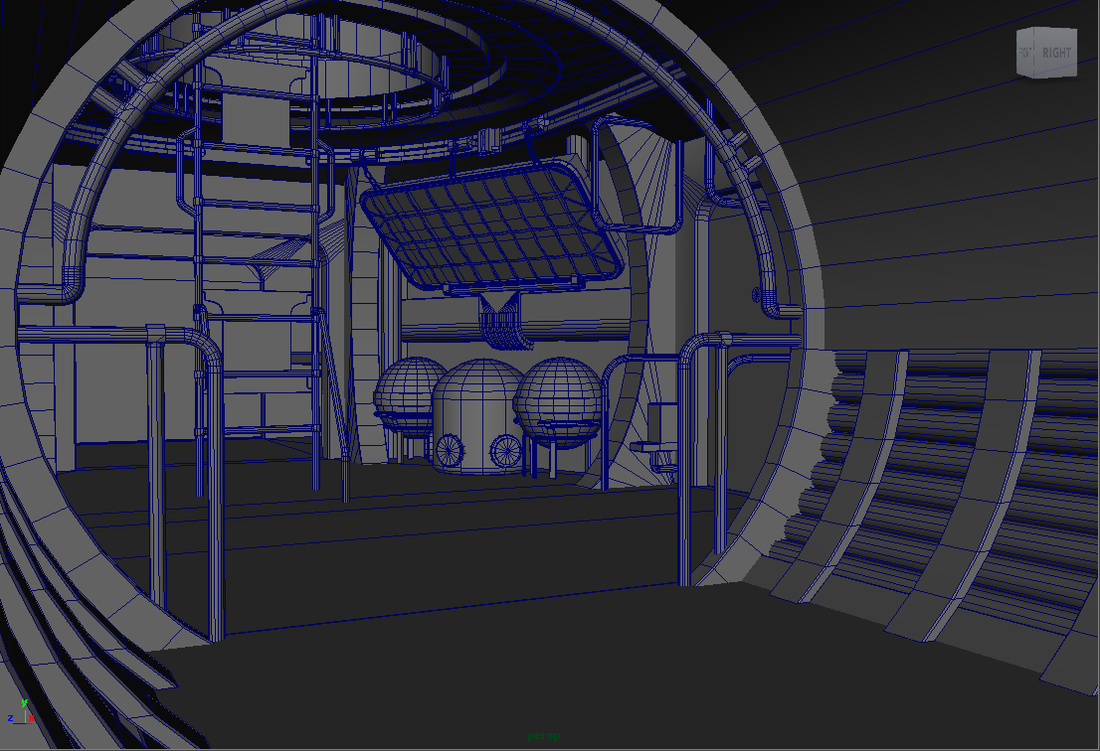
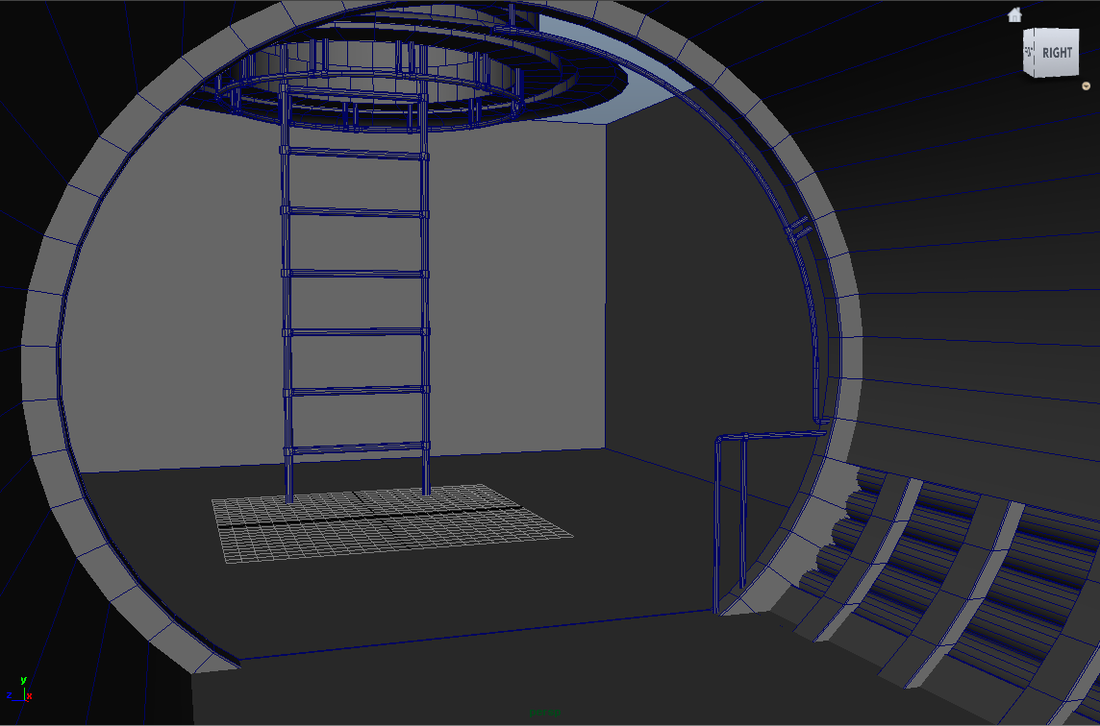
So today I have prepared the environment to be unwrapped separating the rooms mesh and cleaning it up accordingly. I have also included the pipe caps now, so that they are now appearing to be attached to surfaces.
As I said yesterday I have now taken the bed into Zbrush, and created the details of the mattress that I wanted, I then also used deformation master to quickly retopoligise the geometry into a low res version to be used in the environment.
0 Comments
So today I have been making some smaller details in the environment, Well the parts that wont be on the Normal maps! I have editing the sleeping quarters, that has been the major concentration. I have made the back wall longer and the same with the bed. I then took the wall further back and placed the boiler type units deeper into the scene. Due to the further study of the concept piece this is what is appears to be!
Tomorrow I will work on some of the finer details such as the wires an take the bedding into Zbrush to get the shape into a more organic natural shape. The rest of the hard surface detail will be completed with Xdo and then I will finally texture everything in Ddo. After that is complete I will rebuild the environment within a game engine to get the lighting perfect and let this bad boy shine! I can get this looking quite insane once in the game engine as then I will be able to add finishing touches using things like as particle and reflection maps, I have been tinkering away a little bit tonight, its taking a little onger now, referencing the concept art closer and closer, its a little hard to make out detail with the way it has been painted. so it is a lot of trail and error really. I just need to finish off the last few larger pieces of geometry before adding the physical wires where I need to and then I can go ahead and unwrap this bad boy! The main details are still around the sleeping area, there is a lot going in this section and it can be a little hard to differentiate the details that I need, so this is why I am going a little more slowly now. Basically I create a mesh and compare with the concept piece, then make changes where necessary.
For now have left the bed as a simple rectangle with several faces, I have done this so I can then take the mattress and the frame into Zbrush and create the right shape in that programme as it will take far too long to create in Maya alone. Not too much longer now, I should be able to sign this off soon! working with XDo will take the longest I think making sure I am getting the right about of detail in the walls to express the cables and wall panels etc, but the main think is, is that I am going to create a show stopper :) Oh yeah not forgetting I need to export all these sections and get this in a game engine!! I am a little rust with that but it shouldn't be too hard once I have familiarised myself with the UI again! Take a look at this little slide show I have got going of my progress so far with compared to the concept! I don't think I am too far off really. *Note* If anything really needs editing I think its the sleeping area, mine now appears to be too short in comparison, So I think that will be on my next to do list as its going to be bugging me if I dont do anything about it. If I do change it though it will have other repercussions though as I will need to fix the ceiling rails, and the bed support chains but I know that will be most beneficial if I do. I really have the urge to change it now as the bed looks far too wide and too short in comparison. So tonight I ave made the changes that I promised I would! I have also started adding more details such at the bed from and the support railings! I have also gone and added an extra room as the rear, which appear to be more like a small storage area with another door attached. due to the concept art itself I cannot work out what is in there but I will main take an intelligent guess!
Looking at the room as a whole I think I need to bring the entire thing a little closer together so that I can match the perspective right, I just think I have got my scale wrong and made the room a little too wide. unfortunately Well I have played a little with this today and I am still not happy with the dimensions and room shape that I have got in this furthest room so far, but I have noticed some more issues that need to be addressed in the foreground too. I need to bring the piping higher on the walls and change the railings thickness and the positioning at the entrance of this hallway, then my perspective will be correct. I will bring the furthest wall closer in, make the door narrower and change the overall look of the wall arches, not only that I will increase the diameter of the ceiling hatch as that too needs to be larger.
The problem is I have chosen a nice looking concept piece but it is not clean enough to ensure that I can easily distinguish the shape and dimensions of the room. A lesson learnt, making this challenge have a large capital 'C' but I think it will be even more impressive when I pull this off and get the final look of this in an actual game engine! As I cannot see the other side of this piece I will mirror the work, so that the room is symmetrical, I am unsure if that is correct in the final title of the game of if this is even in 'Dead Space' as I have not played it. although as architectural design goes, this is the most natural outcome.
So after completing the Tardis, I was going to finish off the trash can, but before that I want to challenge myself and build an environment up from scratch using a concept image. Now the piece that I have chosen is concept from Dead Space! a great little environment set in the Sci-Fi area seems like my cup of tea!
So I will learn a few things here, and the main things will be lighting, getting the lighting right for this will make or break this. I will not be using a typical renderer though like Marmoset or 3Do, I will be putting this completed environment into a game engine, I think I am going to use UDK! I want to really show off my skills now, I know that the best way to show this is to create portfolio pieces like this. I will most likely be starting this project tomorrow or Saturday! below is the original concept piece. It is worth noting that I have flipped the image as it appeared to of been flipped since all the text was mirrored. Woo I have finished yet another model (ish) haha. I just realised I missed adding some detail to the lock on the door. Not a major biggy but I can change that at a later date! but for now I am happy with the outcome! as with the little logo at the corner there you can see that I have used Marmoset! I have added a few lights in the scene too, a blue at the top and red and white on the sides.
I also had a little trouble with the Emissive maps and the alpha maps. but it was just down to my errors. so I have learnt what I need to do now! I used a PSD file for the transparency to work. and in order to get the windows and light to glow I changed a plain black and white alpha and used the diffuse with everything marked down as black apart from the sections with emitted light. I instead just has a black and white images, but all that did was take detail away from the diffuse. Lesson learnt and all that! onwards and upwards! On hindsight too I should of gone with a texture base bigger than 2k I should of used a 4k UV map instead due to the amount of work that has gone into it. but I am still very happy with the detail I implemented with the UV base that is rather small for the model itself. After all I have set this out so that all the panels and windows have there own UV space. So now to update my portfolio with some PBR renders! So coming along nicely I think! I have pretty much got the main body complete :) I didn't really spend any time in Zbrush with this, well I lie. I started to, then after looking at some more boxes, I found that there was just no need to do that! I simply created a high and low poly version in order to bake out my main masks, Tangent normal, Object space Normal AO and used Zbrush for Colour. I have also for the first time created gradient map using the Maya pug-in 'koddeCreateRampMap' using this has allowed me to add the dust build up which you can see, it also helps in engines too for lighting!
So far I like the results, I will need to go into PSD after I have created the main textures for the windows and light to create glow maps as well as the text for the police sign and the information box!. In all this is a small project really, using some maps that I have yet to use before and I will again learnt something new. In my previous post I mentioned I would take a look at Ndo, I have taken an initial look this morning, and I feel I am getting the hang of it a little more. I haven't saved any of my results as of yet, since I mainly carried out experimentations, working with layers duplicated shapes, and editing the settings. It was nothing worth documenting on her, but on a later date I am going to move forward with what I have learnt and create a small Sci-Fi environment. I am not getting carried away though, I am only going to get on with this once my Tardis and Dustbin character are complete! Not to mention the indie project I am working on too! Busy, Busy, Busy! |
Archives
January 2016
Categories
All
|